Wednesday, July 25, 2012

Lattice-Top Peach Pie

Week 29

This week's host was Talesha she choose Lattice-Top Peach Pie. Recipe on page 376 of our book.

To be honest I procrastinated on baking the pie this week only because I was a little skeptical of peach pie. I like peaches and all, just have never had them in a pie. Well, I guess you could say I was just being a wimp. Earlier this week I was thinking back to the strawberry-rhubarb pie we made. Mine pie was runny and the bottom crust wasn't baked all the way through. This made me worry that the peach pie would turn out the same. 


Like most recipes we bake, I was pleasantly surprised. The peaches were the perfect sweetness, tenderness, and were bursting with flavor.  Hmm pie crust! Who doesn't enjoy pie crust? Even the burnt stuff around the edges is so yummy you have to pick it off and eat it. Luckily my edges fell down in the oven so some crust came off. It didn't look as pretty but it sure tasted good.


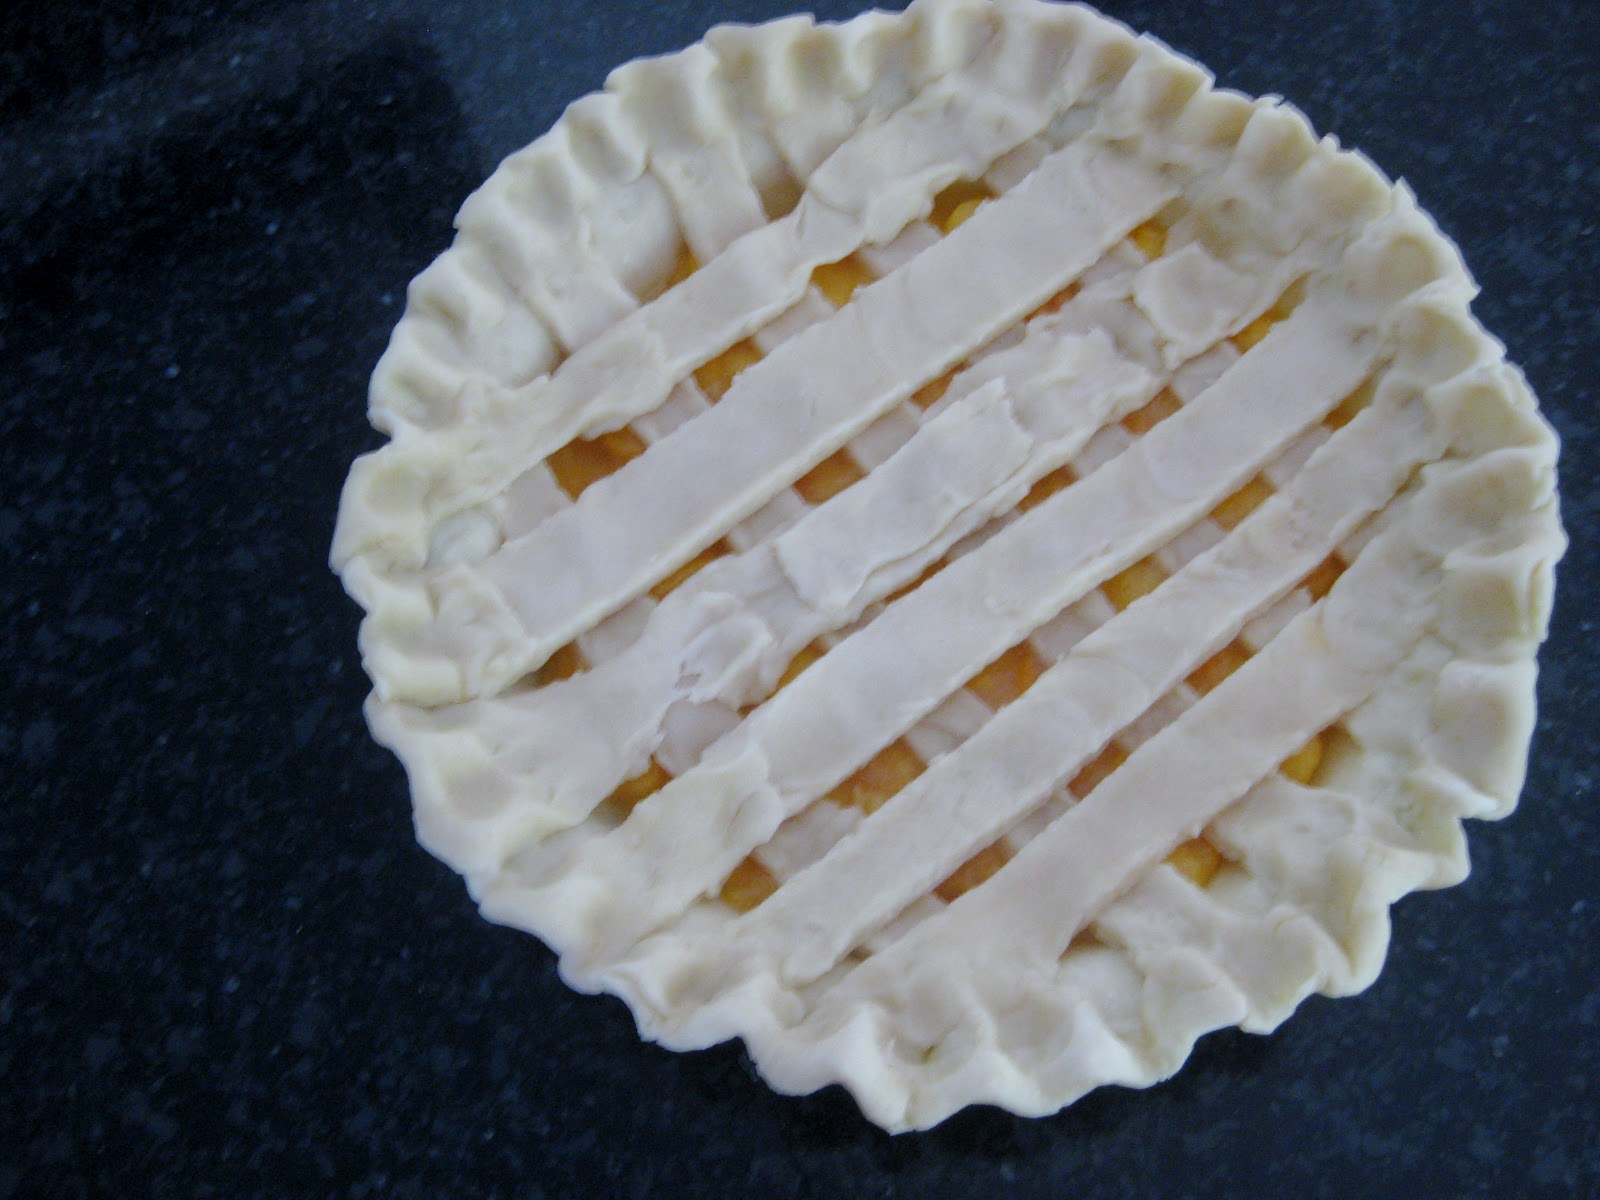
I had difficulty making a perfect 10 1/2 by 13 1/2 rectangle. It was required to use a straight edge because of the lattice design we were making. First I was to long, then to short. It was very frustrating. Finally. . .


I made the perfect rectangle. :) Now I was able to slice it into smaller/longer rectangles for my lattice design. The butter knife was used to separate the slices so when frozen they didn't stick together.


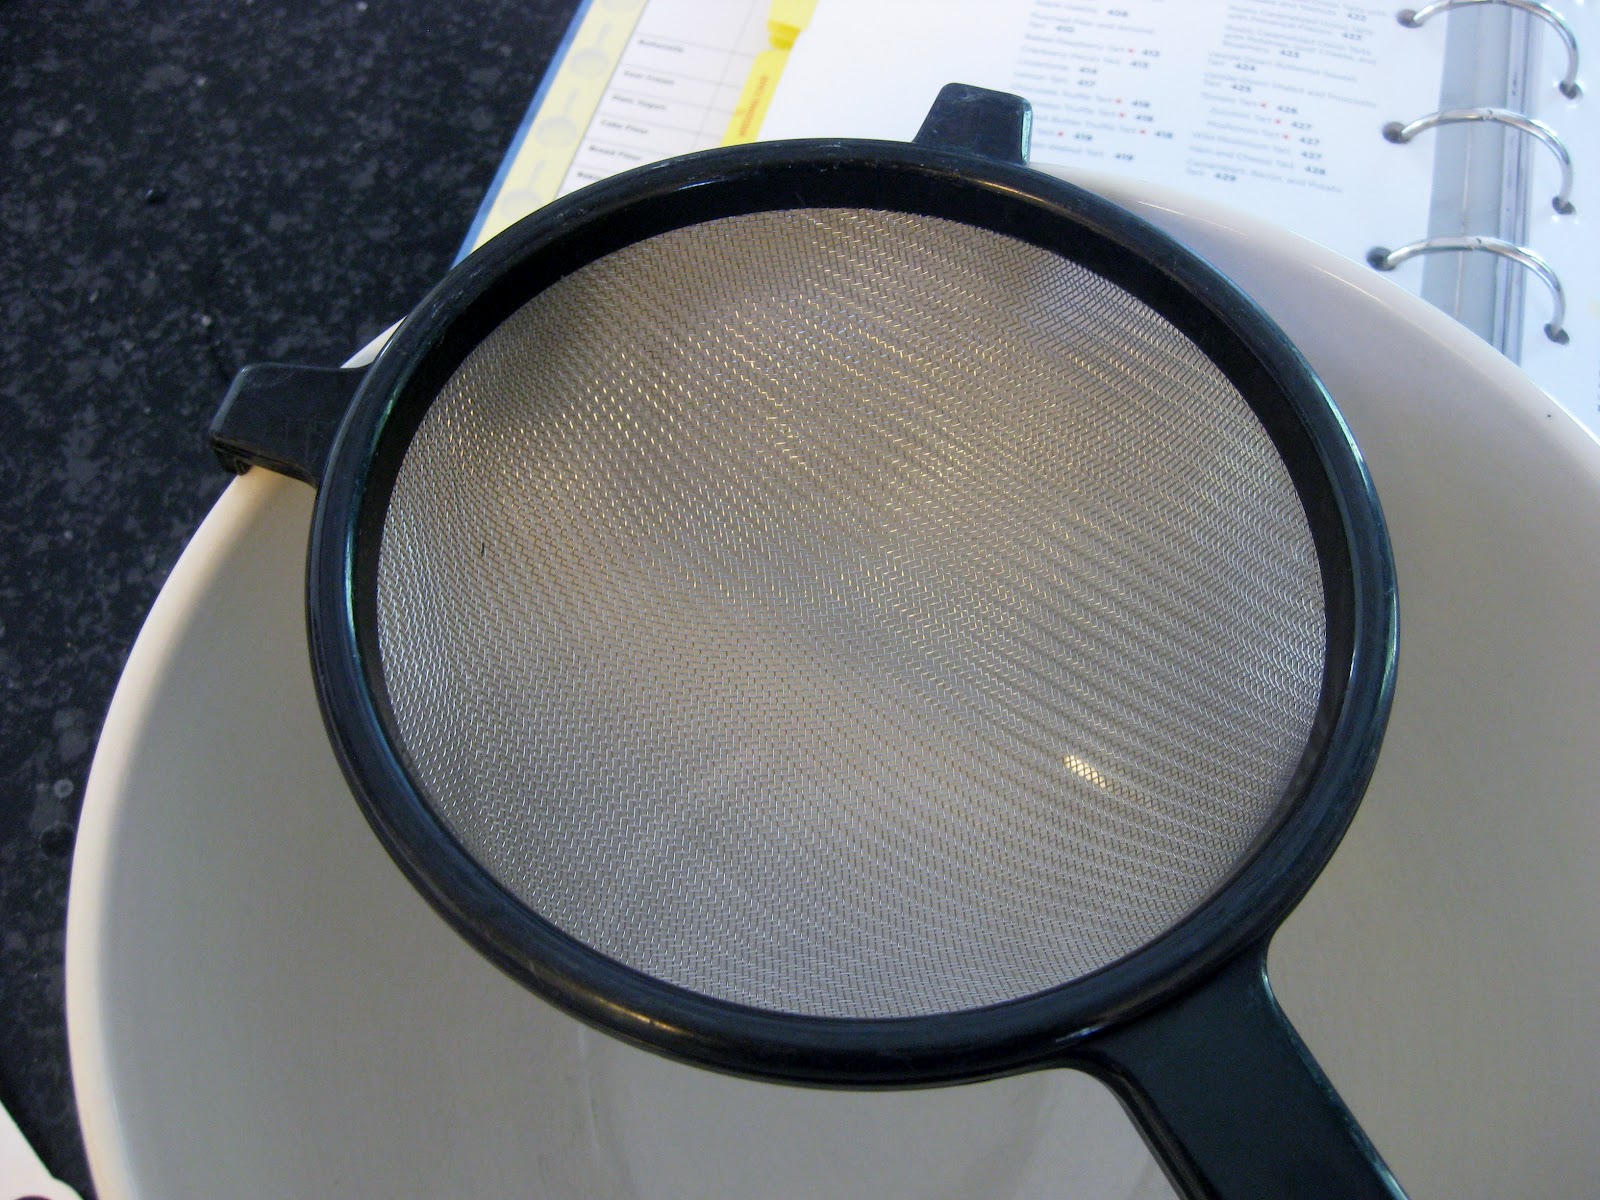
Now time to add the peaches. (I have to mention that these peaches are from the farmers market in down town Salt Lake. I am not a fan of the rock hard peaches they sell in the grocery stores. I was just lucky enough that my husband was going down town on Saturday, so him and our little girl took a trip to the farmers market.) The difference with the peach filling compared to the strawberry-rhubarb filling was cornstarch. I think adding cornstarch to the fruit filling really helped the sauce consistency not be so runny.


Making the lattice design was pretty fun other then the dough tore very easily. You can see where I had to patch it up. Good thing when the dough bakes it hides your mistakes.


Topped with some whipped cream and the pie was gone within a half hour. We had our neighbors over to help us eat it. Everyone loved it, even my hubby who doesn't like peaches had two pieces. I am really pleased at the how it turned out and will be making this pie again.

Click on Talesha's name at the top of my post for the recipe.

A Tip & A Question:
  1. Make sure the pie is dark brown all over to ensure the crust is cooked all the way through. I baked my pie at 400 degrees at the beginning instead of 450, as indicated by the book. I feel that my oven is extra hot. By the end of the baking I left the pie in a few minutes longer to be sure the crust was fully baked through.
  2. Can you pre-bake the bottom half of the pie crust before adding the filling?

Wednesday, July 18, 2012

Cinnamon Rolls

Week 28

This week's host was Valerie she chose Cinnamon Rolls. Recipe on page 90 of our book.


What can you say about "Right Out of the Oven Cinnamon Rolls"? Yummy Yummy, all that gooey, cinnamon sweetness rolled together with icing to top it off. If that doesn't bring every one to the kitchen I don't know what will.

We just made Cinnamon Bread a couple weeks ago and now we are making Cinnamon Rolls. You don't here me complaining. This recipe was really simple and took the afternoon to make it which means they were finished at dinner time. Can you guess what we at for dinner?


Just one tablespoon butter along with brown sugar, cinnamon, and allspice. The recipe wanted us to use our fingers to get a 12" x 16" rectangle. I remember following those instructions in a previous recipe. I still can't figure out why we can't use a rolling pin. As you can tell a rolling pin was used and it made the job cleaner and faster. 

Tip

Great way to cut your cylinder into perfect sized soon to be cinnamon rolls. Cut into two, cut each half into two and continue process until desired size is met.


Here they are right out of the oven. You can tell my two end pieces, but I am not sure what happen to the two in the middle. It's like they unraveled upwards in the oven. 

At this point I was excited to see if they would really pull apart as indicated in the book.


 I didn't get a picture but they pulled apart beautifully and half the batch was gone in 15 minutes. Everything about this recipe was great. The icing was basic other then the cream cheese added which made it extra creamy.

My hubby complimented on my baking/cooking and how it's improved. I have this group to thank for that! I also think this was one of his favorites because he said the rolls tasted like the ones from a baker shop. That made my day! We'll be making these again for sure. :)

A Tip & A Question:
  1. See above picture titled "Tip"
  2. N/A

Wednesday, July 11, 2012

Fresh Fruit Tart

Week 27

As you have probably guessed there was no baking last week. I had planned to bake a festive desert for Independence Day but the choice amongst my guests was voted out by homemade ice cream. Last week was a break for all of us. Now we're back at it and this week's host was Amanda she choose Fresh Fruit Tart. Recipe on page 403 of our book.
 
I am really glad she picked this recipe for two reasons. First: I have been eying the recipe to use for my baking week but was unsure about the filling. Second: What a perfect desert for the HOT HOT summer.
 
This recipe could of been festive enough for Independence Day.
Not only does it look refreshing but beautiful to! I love love berries, especially strawberries and raspberries. So I choose the mixed berry tart variation. Well. . . I didn't really read that variation it just so happened that I used all berries and after glanced at the tart variations and saw that there was a berry variation. The Kiwis on the original version look beautiful but I am allergic to them.


Making the custard filling was easy but I was nervous it was going to be way to rich for my taste. It was made out of half and half and some sugar. I remained optimistic because the picture looked so good.


The recipe for the tart crust wanted us to make the dough in a food processor. Usually when a recipe says this I use my blender. This time I decided to sift the ingredients when it said pulse and use my dough hook on my standing mixer when it wanted me to combine the ingredients until it turned to dough. In the end it turned out just as good.


When it came time to roll out the dough it kept sticking to the counter. I tried to pick it up with the rolling pin and my fingers but it wasn't moving, just crumbling. (see above picture) Errr. It took a lot more flour and a couple more times of rolling out the dough before it was finally placed into my pie plate. Yes, "pie plate" I didn't even go look for a tart pan. A pie plate was just as easy and looked just as good other then it looked like a pie instead of a tart. Oh well.


I was really impressed with how the tart turned out. The custard filling which I was worried about being to rich was just perfect and not to heavy. The fruit, of course, was yummy. As you can see in the pictures above it didn't serve well. The tart fell apart when I served it. I think next time I will freeze the custard in the crust for a hour or so then right before it's served put the fruit on top. It would be even better if the custard was more firm and cold. Thanks Amanda for picking a great summer treat!

A Tip & A Question:
  1. Test your custard before assembling tart to make sure you have the right firmness.
  2. What does pulsing the ingredients do verses mixing?

inlinkz codes for this week: